Step1
It all starts form “caring” the image (or the scene) in my mind.
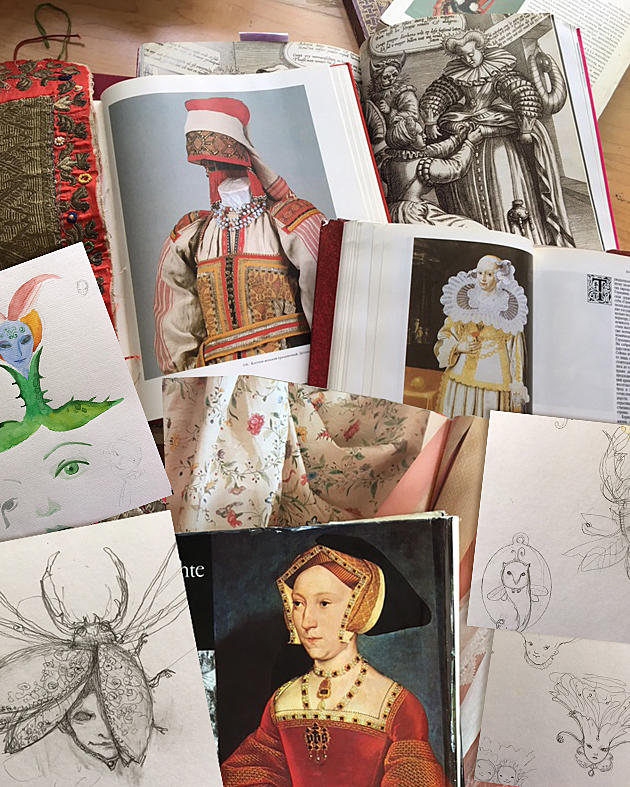
Working with old photos, looking through books and magazines in order to find interesting ideas, searching for costume and faces I could use.
Usually work begins with a quick drawing and is brought to a detailed sketch. But sometimes (especially since I had children), everything is creating in my mind and I immediately begins working on the "skeleton" of the doll.
Step2
Тhis is one of the magic moments of my work: to feel like a pioneer and a creator.
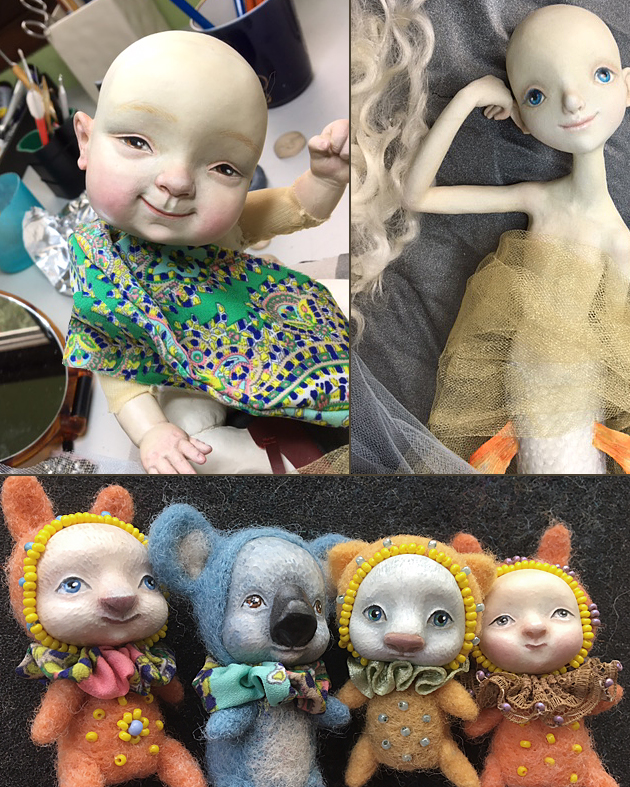
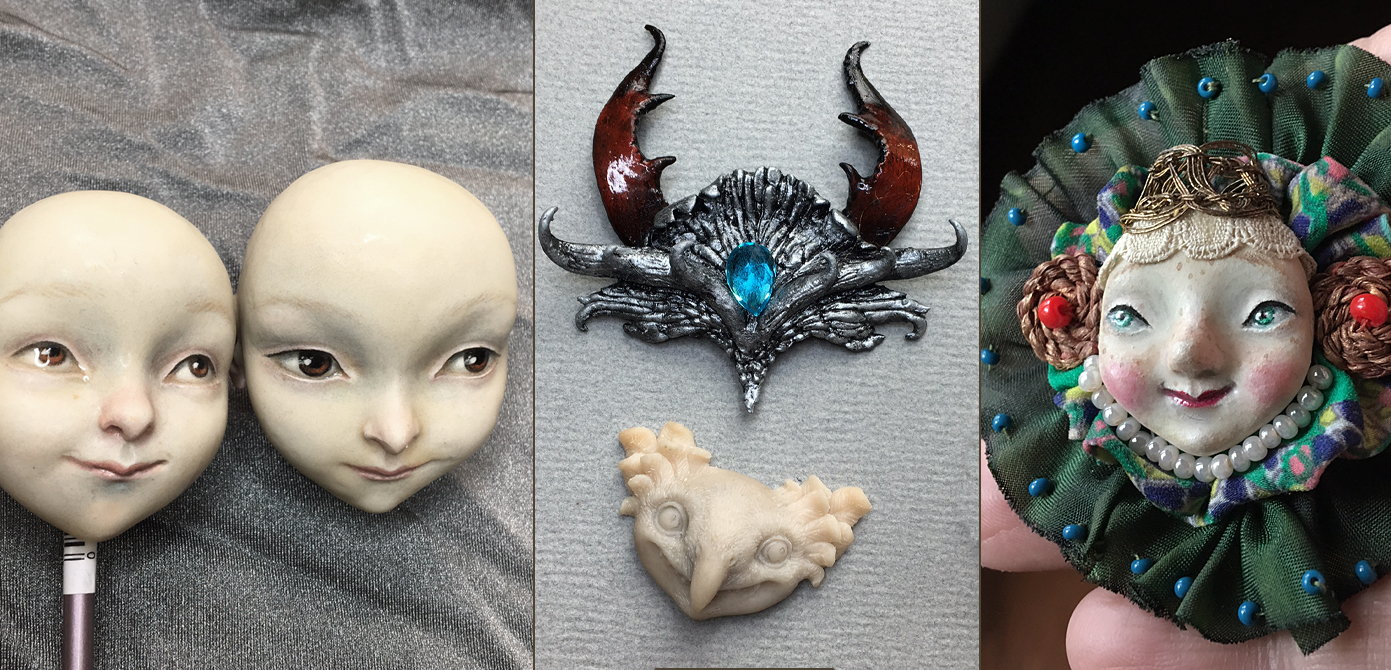
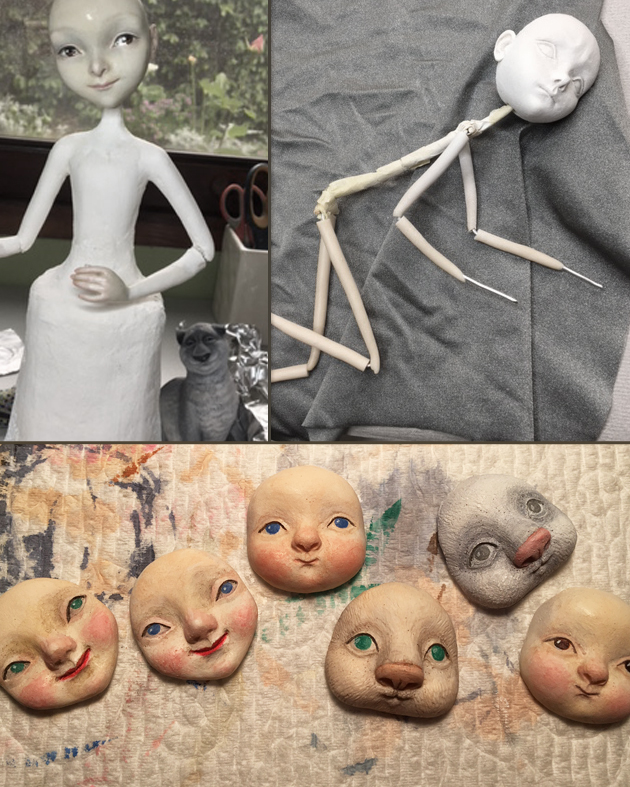
Making a doll starts from building a wire “skeleton”. The "skeleton" is the basis of the doll and sets the proportions and the pose of the doll.
Hands, feet and head are created separately from the body and connect together at the end. When everything is made, I bake all parts (I work with polymer clay). The following is the painting of the details. I like acrylic colors most of all, they are very "flexible", you can work with them using watercolor or oil techniques. And the last part: connection of all the elements into a doll figure.
Some times I need to make casting of small parts in order to make few of the same parts. During the creation of a polymer clay model I use a magnifying glass (which is a lamp as well and I dearly love it!).
Step3
The choice of costume and hairstyle depends on the personality of the doll, where it "lives", what it "does."
With each new doll comes a new challenge, the solution of which can take as much time as creation of an whole doll: how to make the effect of drops of water in the hair, that would look like the morning dew in the spider web, how to make an effect of flames for a cape, while the doll is still, how to make a costume for the god of the Forest, what would look like if it was made from the bark and moss ...
Тhis is one of the magic moments of my work: to feel like a pioneer and a creator.